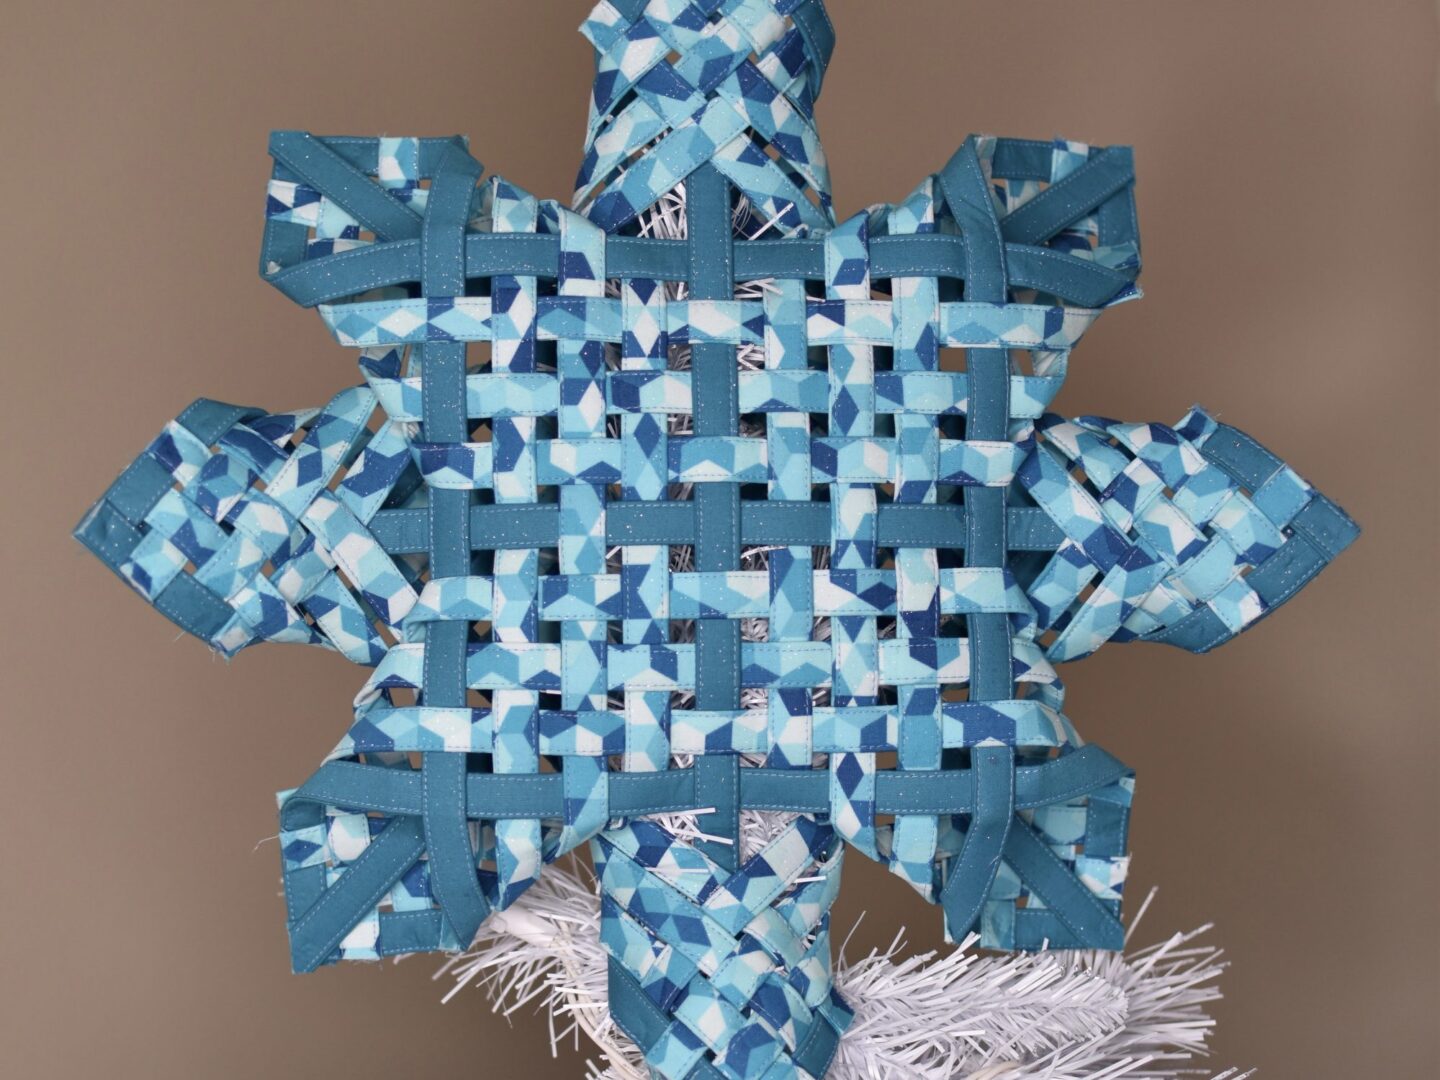
The moment that Helena told me that she wanted a white tree with pink, purple, gold and turquoise for our tree, I visualized this tree topper. I had made one with more traditional colors last year that I have a step out tutorial for if you need it. I thought that as I made this one that it would also be a good time to show y’all how to make it as well in a YouTube tutorial.

For this version of the tree topper, here are the supplies that I used:
- 1/3 yard Tile Blue Pure Elements Solid
- 2/3 yard Mau Loa Seabed from my Aura Collection
- Heat n Bond Heavy Weight Fusible Interfacing
- Wonderfil Ultima Aqua Blue Thread
- ThermoWeb Fabric Fuse Glue
- Clover Mini Wonder Clips
- Taylor Seville Magic Pins
- 20″ x 30″ Foam Board
- WEFTY Needle
As stated in the video, here is the cut list:
- Total of eighteen 2″ Width of Fabric (WOF) strips: six Tile Blue & twelve Mau Loa
- Eighteen 2″ x 32″ strips of interfacing
After preparing the strips, you will cut the longer strips to have a total of thirty-six 16″ strips (twelve Tile Blue & twenty four Mau Loa)
Additional Notes on Tree Topper
In the instructions of the video, I spaced the strips with a 1/4″ space in between them so that I could stick lights in it and the light would shine through. I used 16″ strips, but almost wished that I’d used 17/18″ instead to make the cannoli more voluminous. However, in my first traditionally colored tree topper, I didn’t leave any spaces and only used 15″ strips, which created a super sturdy star. The next time I make one, I’ll probably create a hybrid of these two and use 17″ strips. I’ve provided both examples because this is the spot where you make these choices. In a nutshell, if you want light to shine through, have the space in between. If you don’t, then I wouldn’t leave any space.
While I don’t promote anything unless I legit love it, this post contains affiliate links.


Where did you get the grids that are on the foam board?
I drew them on there
Thank you!! I have one more question. What size did you draw the grids? 1/4″?