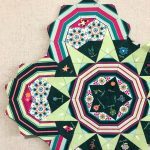
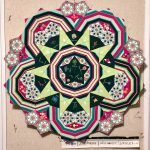
As many of you are aware by now, my Loved to Pieces collection was inspired by my love of English Paper Piecing. Since I feel it’s also my job to show y’all all the different ways that my fabric can be used, I knew that I had to conquer at least one rosette in the La Passacaglia to show all the fussy cutting potential of the collection. But like no way was I going to do a whole quilt. So like many folks who start a la pass rosette, I just got started not thinking about the end product. The only thing that I knew was that I wanted to highlight the 26 different flowers in the Anthonem print and show how fun the stripe could be. So with that in mind, I kept stitching away using Wonderfil Invisafil until it reached 22″ in diameter and I got through 25 of the 26 flowers. Who needs a Z anyway, right?
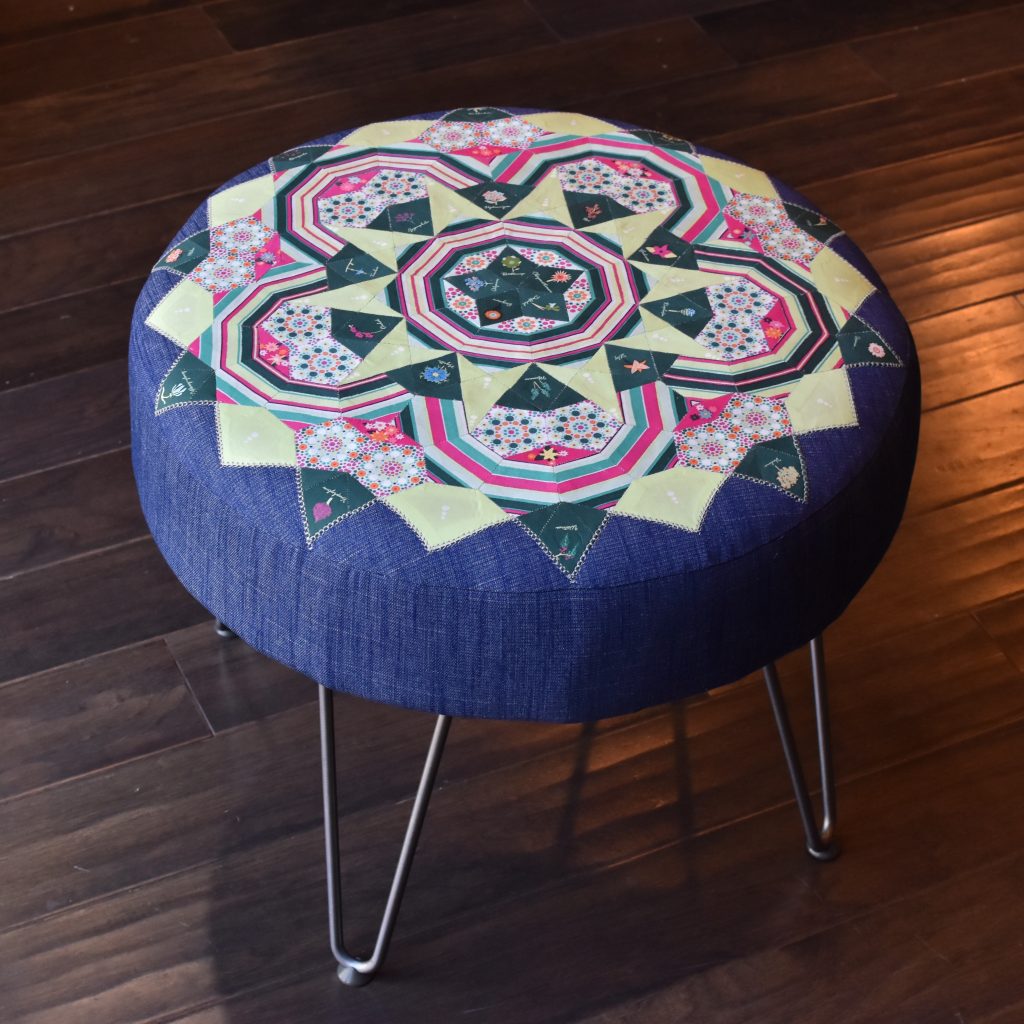
It wasn’t until I saw the finished large rosette that I knew what it was going to be: a La Passacaglia Ottoman. I searched and searched for the perfect ottoman to create a cover for, but I couldn’t find one that I liked. So then I was like, heck why not just make your own it can’t be that hard? And since part of the fun of sewing and crafting for me is to figure stuff out on my own, I sat down and thought about how I wanted it to look and then found the supplies to match:
- 22″ diameter foam – 4″ thick
- 22″ diameter wood – 3/4″ thick
- Cotton/poly batting
- Glue & glue gun
- Staples & staple gun
- Four 12″ hairpin legs
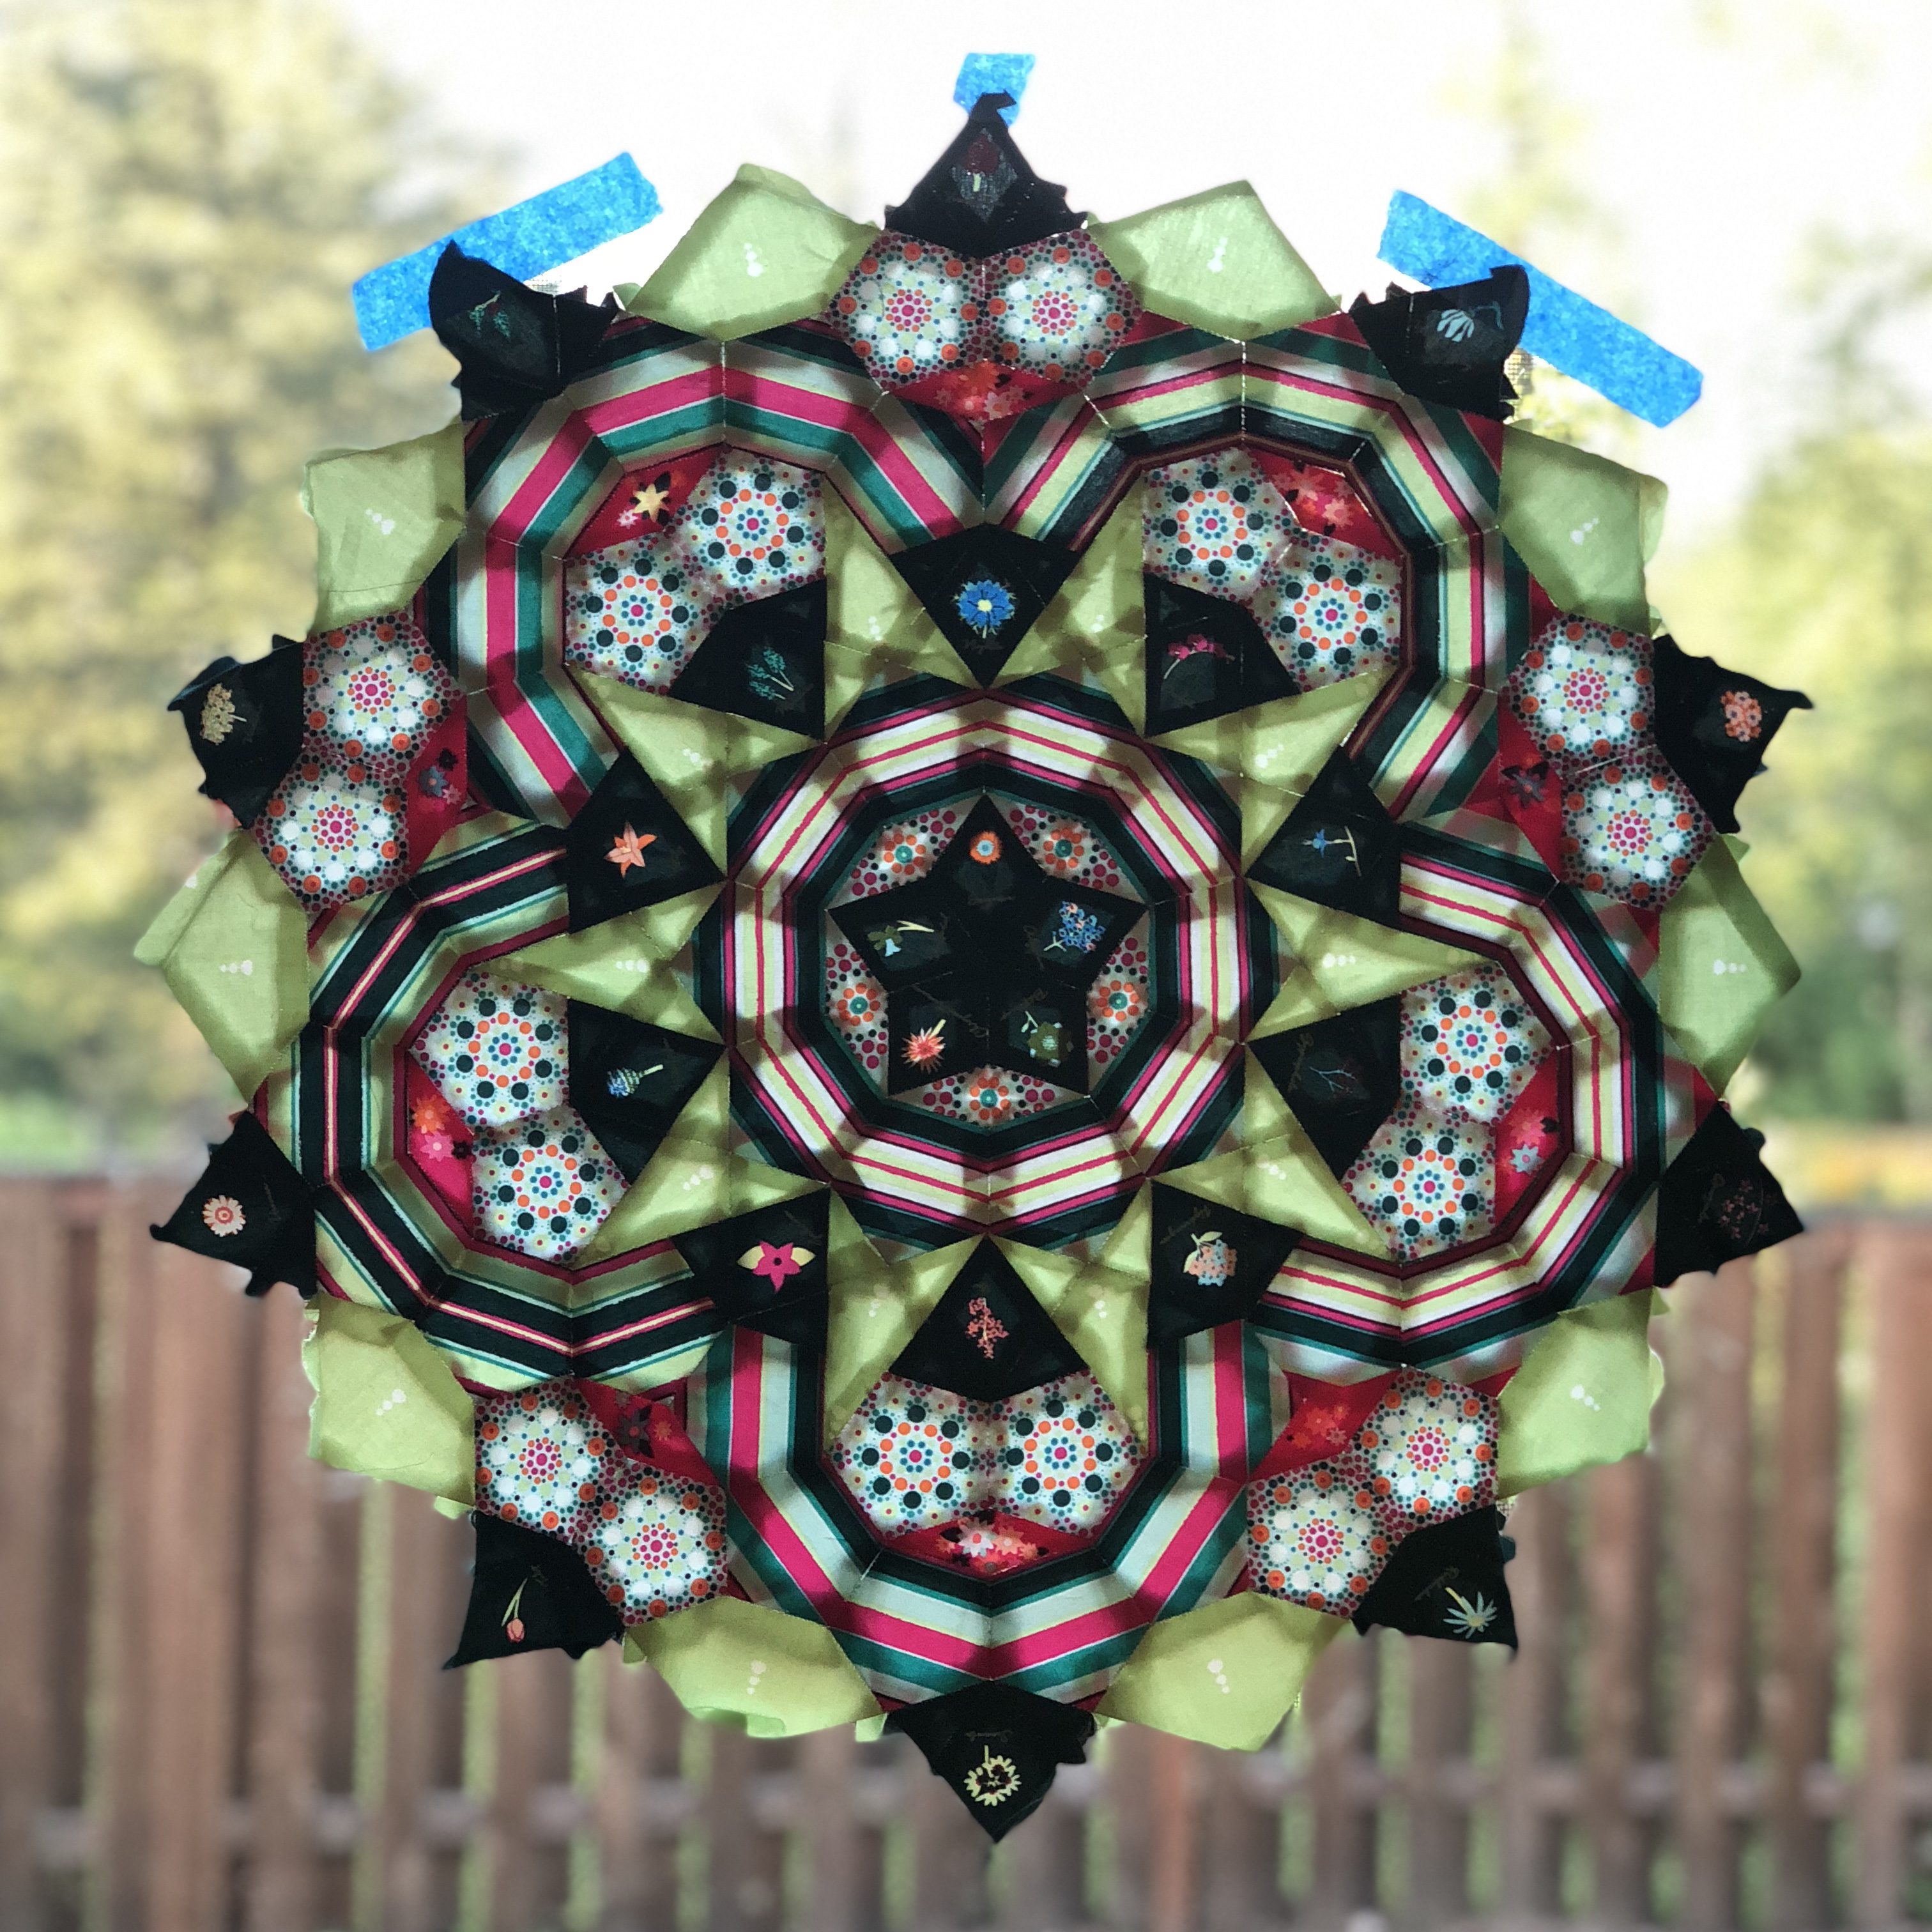
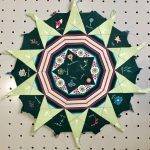
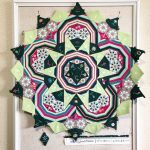
Once I sent out all my orders and waited for them to arrive, I decided how I was going to finish the fabric component of the ottoman. I originally thought that I was going to continue EPP-ing the top, but then I decided that wouldn’t be the most durable way so I landed on machine appliqueing the top onto the Bluebottle Field textured denim. Before I secured the rosette, I taped it onto a window to make sure that all of the papers were out, which also make a pretty rad photo.
I used Steam-a-Seam Double Stick Fusible Web to affix the rosette and then topstitched the edges with a fancy stitch using Wonderfil Ultima.
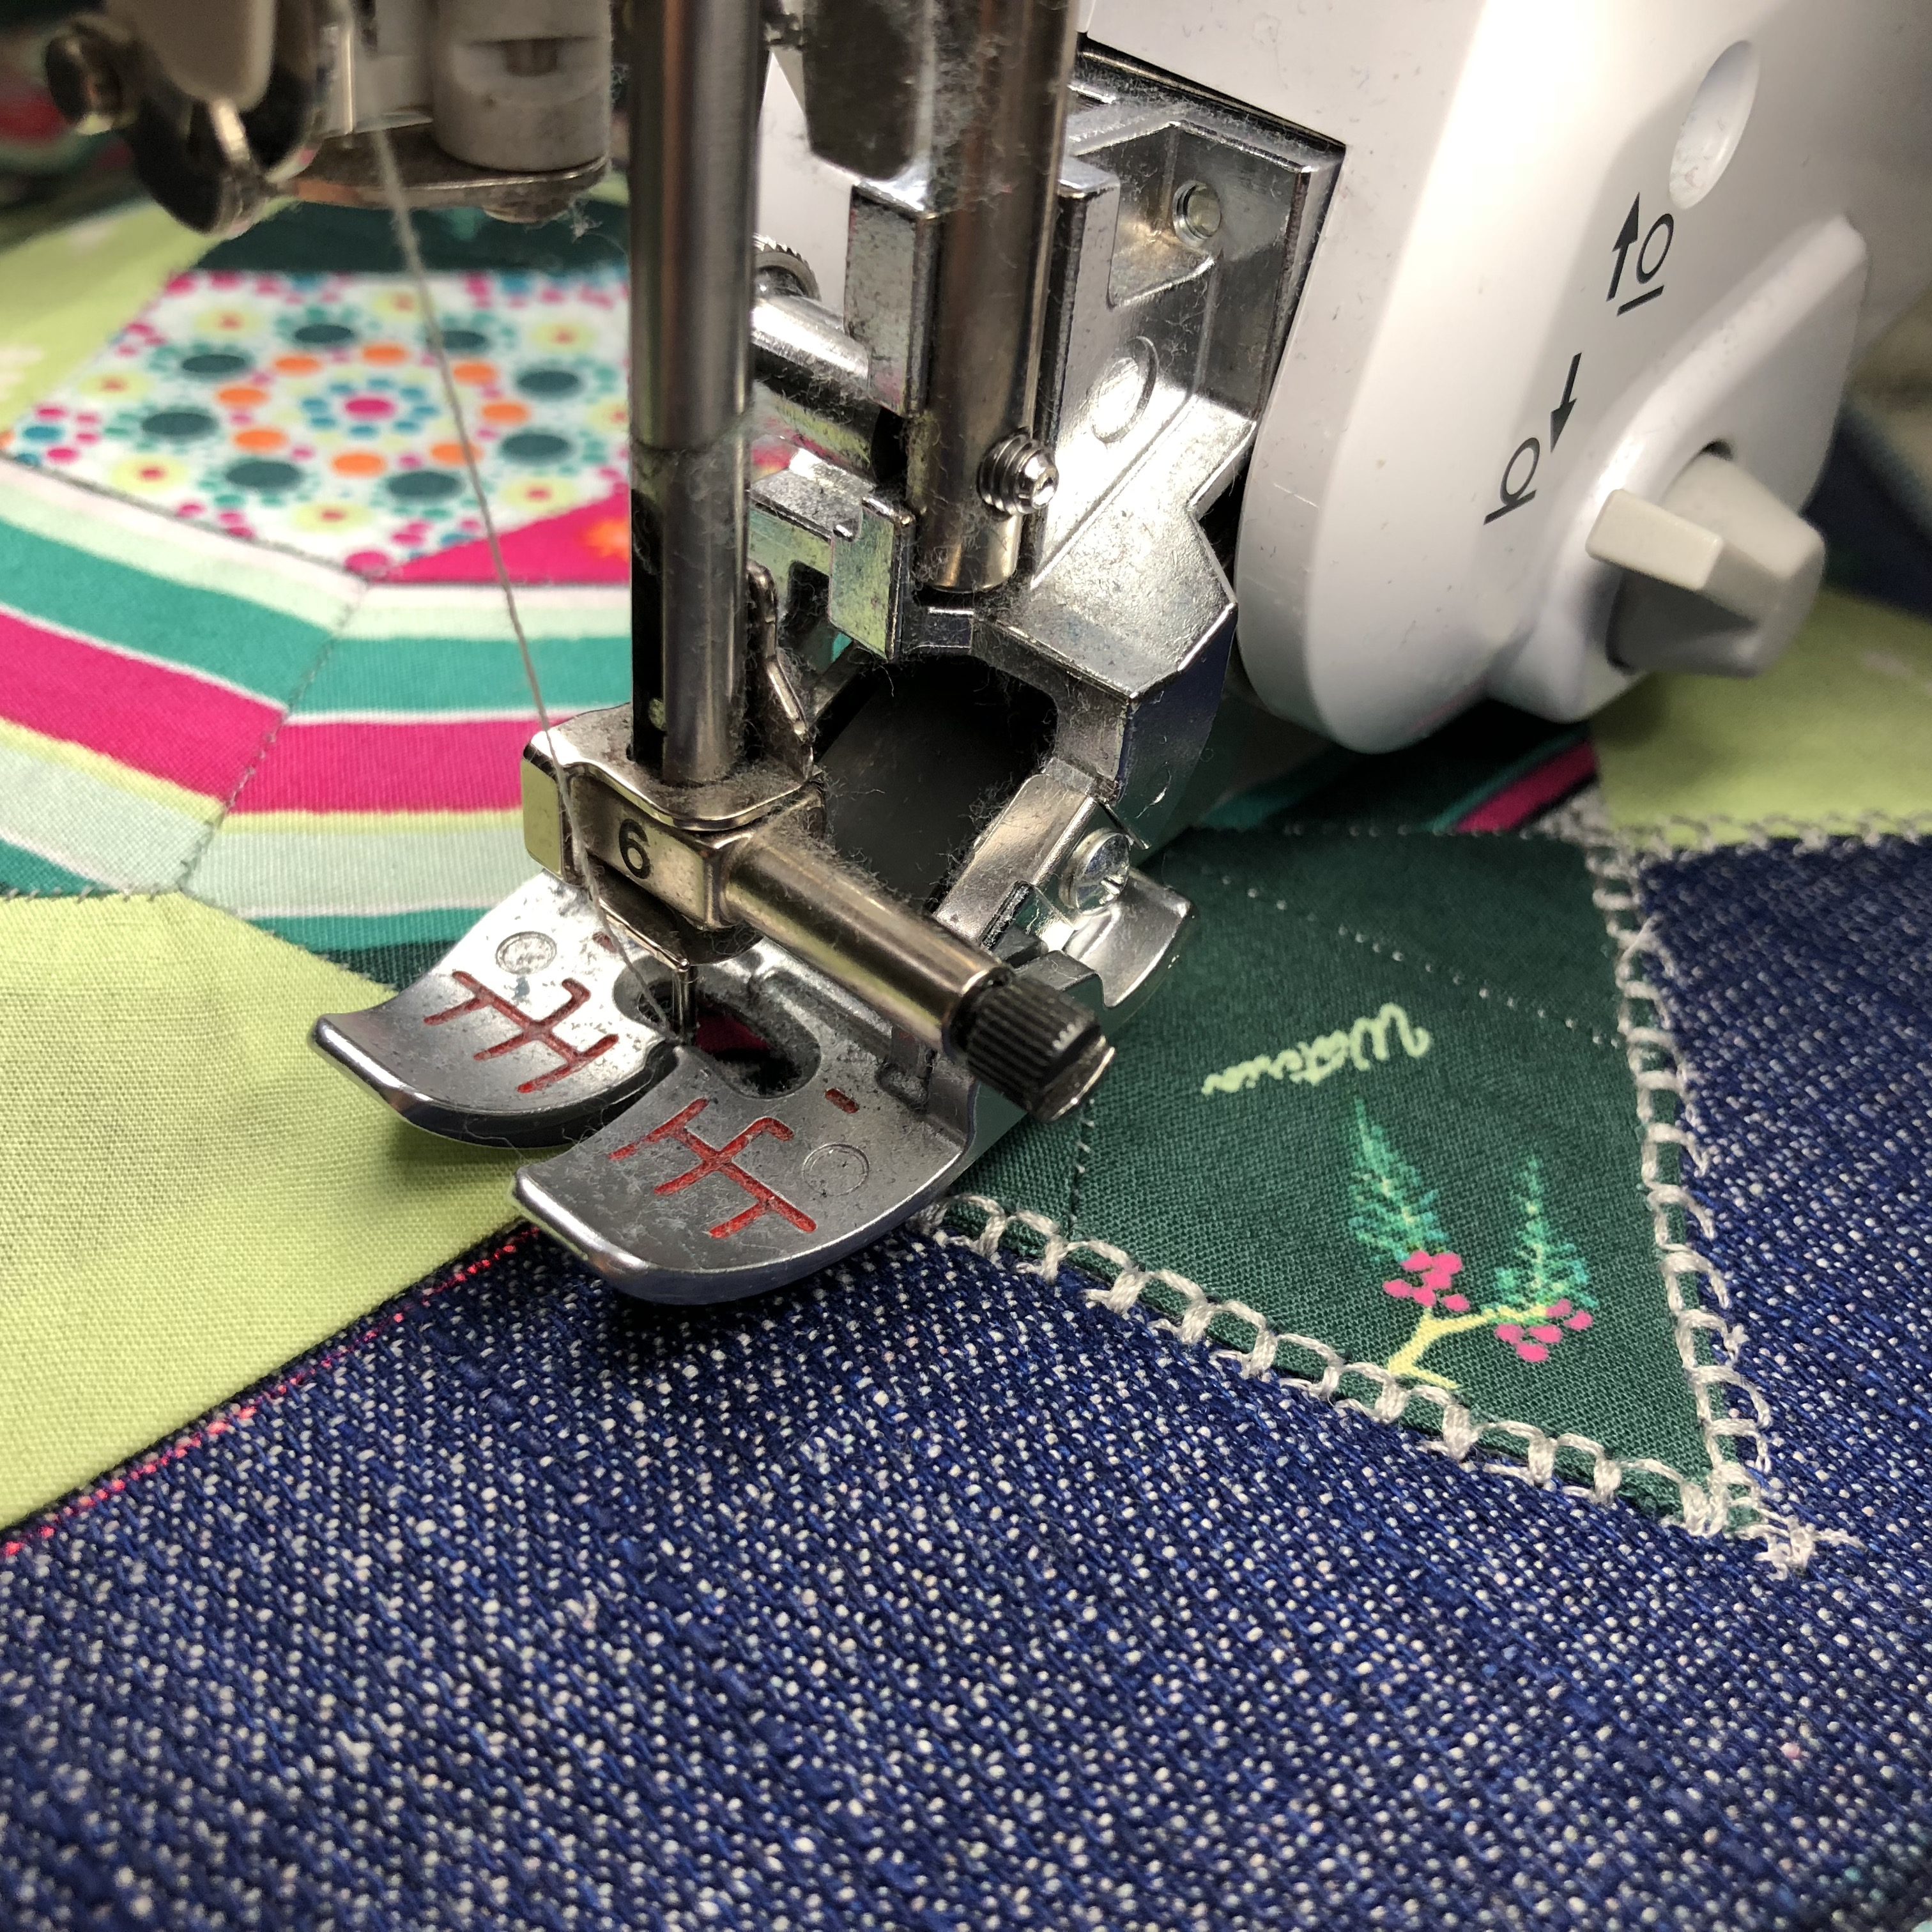
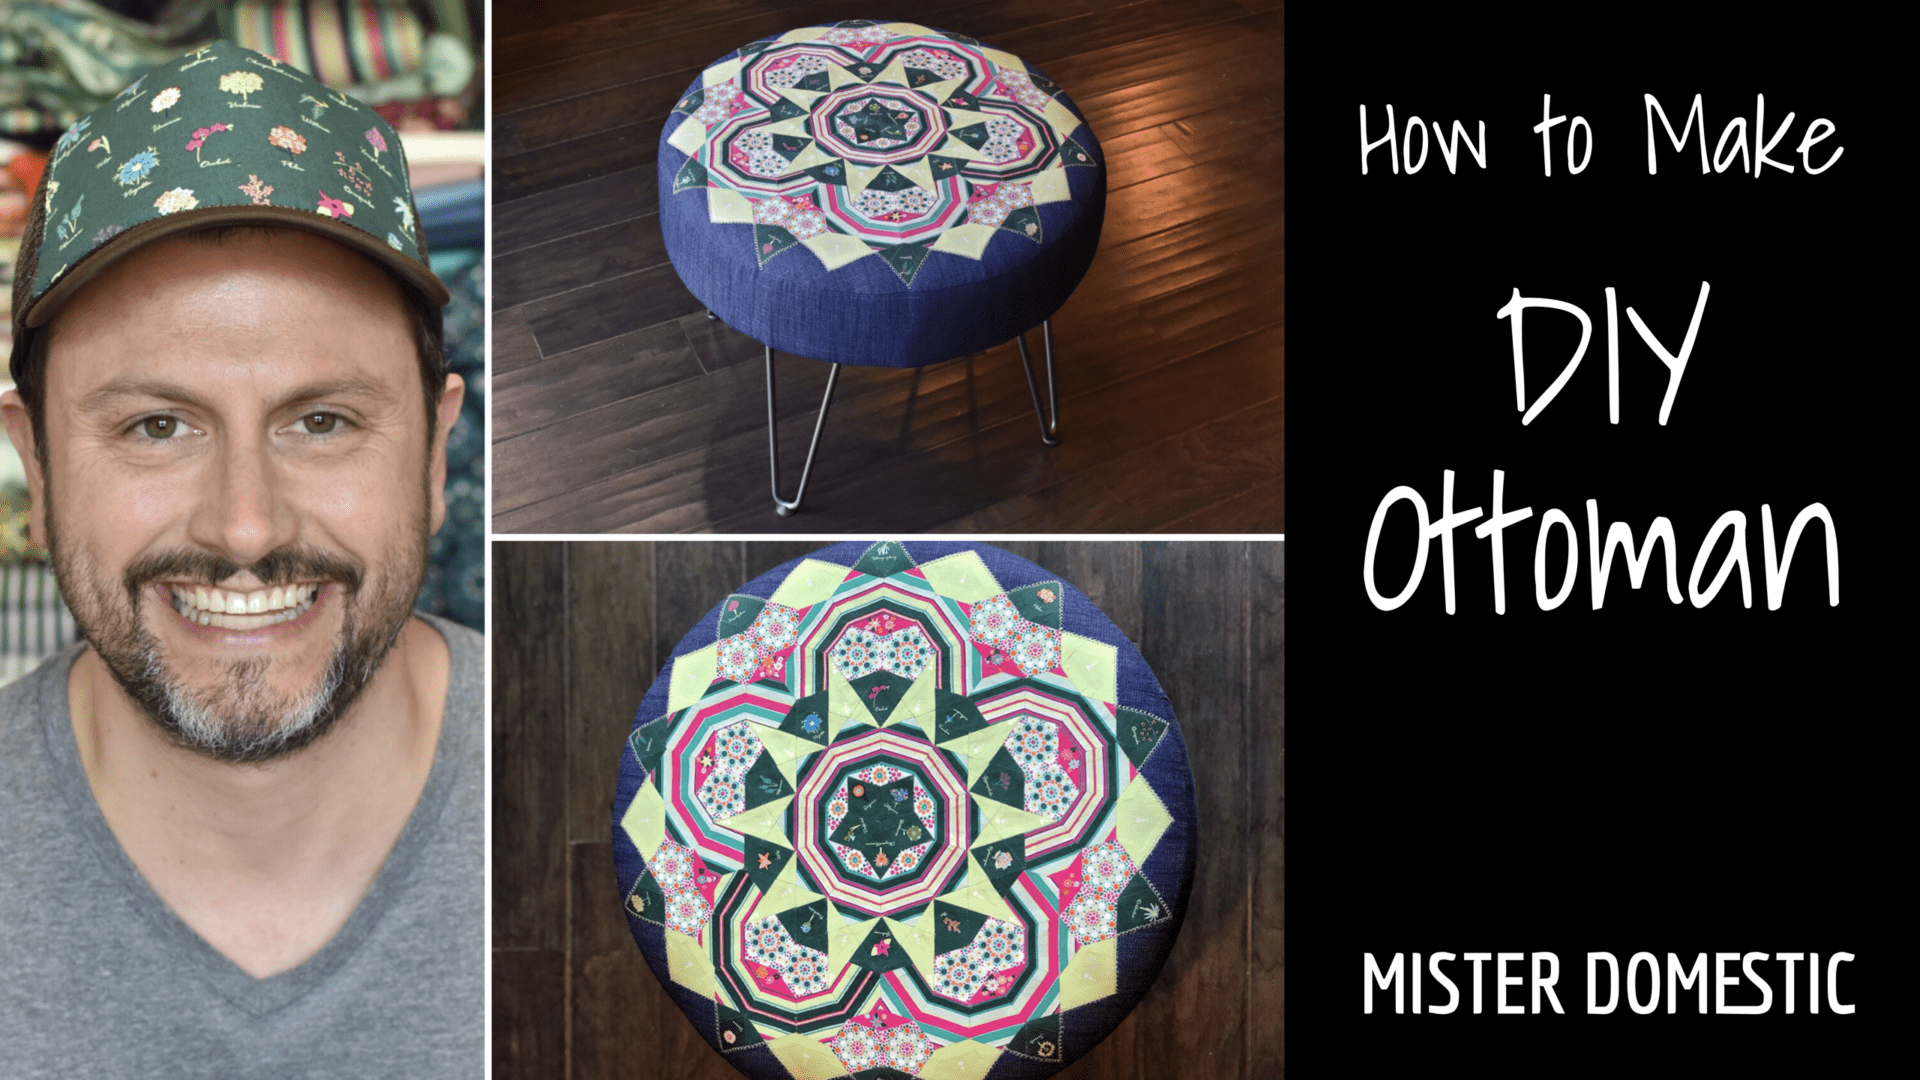
One the rosette was on the denim, I used the wood circle as a guide to trace a circle around the rosette that was slightly larger than the 22″ diameter and cut the circle at 23″. I planned to use a 1/2″ seam allowance to secure the sides, so using a circumference calculator with the diameter of 22″, I found that I needed a little bit more than 69″ for the sides. So I cut two 35″ x 7″ strips and joined them together to make a big circle. Before stitching them together I serged the edges, which is something I do with heavy fray fabrics. If you don’t have a serger, a zig zag stitch will do the trick. And with all this is hand, I sat myself down and filmed a video tutorial so that you all can make your own ottoman as well, with or without a la pass rosette on top. Click this link or the image below to watch.
I’ll be the first to admit this project is very extra, but oh em gee is it sooooo easy now that I’ve figured it all out. And waaaaay cheaper and more stylish than a store bought ottoman. The sky’s the limit with size and height variation. Hopefully I see a few of these swimming through the interweb in the near future.
[mailchimp_subscriber_popup baseUrl=’mc.us13.list-manage.com’ uuid=’7cb8f88750148536623242803′ lid=’b4d592cf7e’ usePlainJson=’true’ isDebug=’false’]
While I don’t promote anything unless I legit love it, this post contains affiliate links.

What a totally awesome project! Absolutely love it (but I admit I’d probably be too afraid to put my feet up on it).